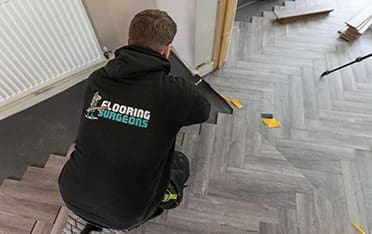
Laminate flooring is a popular choice for many homeowners. It combines affordability, durability, and style, offering the elegant look of hardwood at a fraction of the price. Whether you’re looking to upgrade your living room or refresh a high-traffic area, laminate’s scratch and stain-resistant qualities make it a perfect flooring selection. Plus, it’s incredibly easy to install. At Flooring Surgeons, we have prepared this guide to teach you everything about installing laminate flooring. Let’s get started!
Before You Begin laminate instalation
While laminate can be installed in most areas of your home, spaces with high moisture levels, such as kitchens and bathrooms, require extra caution. That’s because laminate is water resistant, but it isn’t waterproof. In such areas, large spillages and prolonged exposure to moisture cause lasting damage to your flooring. Laminate is ideal for high-traffic areas like hallways and living rooms due to its durability. Its HDF (high-density fiberboard) core and scratch-resistant wear layer provide extra strength. Now, before you begin, you should carry out some preparation
Check the packs!
It’s important to inspect each plank for defects. If you find any, address them before starting the installation. For commercial use, it’s better to consider laminate rated either AC4 or AC5, which make it perfect for rooms such as office spaces (AC4) or large department stores and public buildings (AC5).
Site Conditions for Laying Laminate Flooring
The good installation of laminate flooring depends on the site condition. These essential checks should always be made:
- Humidity levels should be between 45% and 65%.
Concrete or timber sub-floors should have a moisture content of no more than 12% MC on a surface prong test or below 3% on a concrete moisture meter. Different meters have different scales, so it’s important to check their documentation.
- Subfloor levels should be no more than 3mm over a 1m distance in any direction. Use a long spirit level and ruler to check. Uneven floors should be leveled using leveling boards, plywood, or self-leveling compounds.
- If there is old adhesive on the subfloor, it should be removed by scraping or sanding before installation. Remove any old carpet or cushioned vinyl flooring, as laminate should be installed on a firm, stable surface.
Acclimating A Laminate Floor
Like solid wood flooring, your laminate flooring should remain in its packaging and lie flat in the room where it will be installed. Most manufacturers recommend a 48-hour acclimatization period.
Do not stack the boxes on top of each other, and ensure the room’s temperature remains normal with the heating on.
It’s okay if you notice any bowing in the planks after acclimatisation. It’s simply the laminate HDF core adjusting to the heat and humidity of the room.
Read more: How to install solid wood flooring
Choosing the Right Underlay for Laminate Flooring (if needed)
Selecting the appropriate underlay is crucial for the longevity and performance of your floor. foam underlay, ensuring that the edges butt together without overlapping. Secure the seams with underlay tape. For flats or upper floors, consider using sound-reducing underlay for better noise insulation.
If you’re installing over concrete, use a DPM (damp-proof membrane) to prevent moisture damage. For wooden subfloors, choose underlays specifically designed for wood, offering added benefits such as insulation and surface leveling. Proper underlay selection ensures both protection from moisture and improved overall flooring performance.
Measuring a Room

Before you start your laminate flooring project, it’s essential to know the exact area of the room in square metres. To calculate how many packs you’ll need, divide the room’s area by the pack size. Then round up to the nearest whole number to determine the total number of packs required.
For example, if your room measures 24.75m² and the pack size is 2.39m², divide 24.75 by 2.39, which equals 10.3. Round it up to 11 packs, which is the final number of laminate flooring packs you’ll need. To account for waste, we recommend adding 10% to the total area.
Read more: How to measure a room for flooring?
Tools for laying laminate wood floors
What You’ll Need to
- Circular saw / jigsaw / or handsaw
- Utility knife
- Hammer
- Tapping block or pull bar
- Rubber mallet
- Tape measure
- Straightedge ruler
- set square
- Pencil
- Undercut jamb saw
- Scrap wood spacers
- Underlayment and tape (if required)
- Knee Pads
- Moisture Metre
- spacers
How to lay laminate flooring step by step
Before you begin, ensure your subfloor is clean, dry, and level. The most co
on method of laminate installation is the floating method, which uses an underlay. This method allows laminate to be fitted over almost any type of subfloor without the need for adhesive—simply click the planks together.
Step 1: Plan the Layout
Begin the layout along the longest wall of the room. It’s important to plan a staggered pattern for the planks to ensure that the joints in adjacent rows do not align. Always leave an 8-12mm expansion gap around the walls and fixed objects using spacers to allow for the natural expansion and contraction of the laminate. As you lay the planks, make sure the cut planks are at least 30cm long for added stability in the overall flooring structure.
Step 2: Install the First Row
Trim the tongue edge of the planks to create a clean edge against the wall. Lay the planks with the cut edge facing the wall, ensuring that the 8-12mm expansion gap is maintained. You can use the offcut from this plank to start the second row, ensuring that the rows are properly staggered. This method prevents the joints from aligning between rows, maintaining a strong and stable floor.
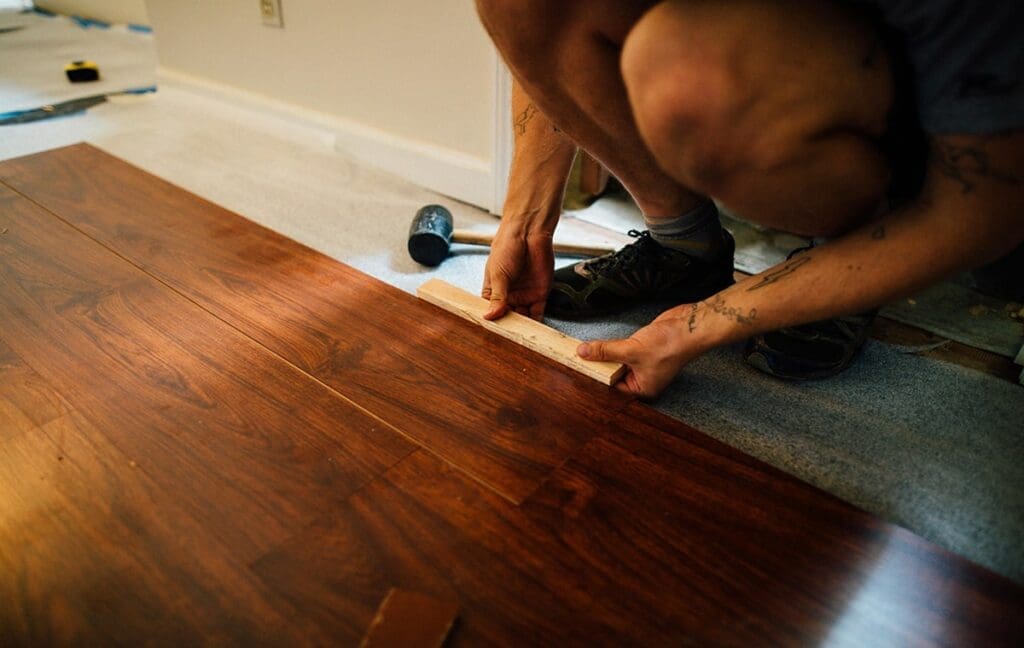
Continue to installation of Rows
Continue to hold each plank at a 45-degree angle and insert the tongue of the plank into the groove of the previous row. Lower the plank into place, allowing it to click securely. If necessary, use a pull bar and tapping block to ensure the joints are tightly secured. Remember to maintain a staggered pattern throughout the installation process, making sure that the joints are offset by at least 30cm from row to row. This staggering of the joints adds structural integrity to the floor. Additionally, leave a 10mm gap around obstacles such as walls, radiator pipes, door frames, and skirting boards to allow for natural expansion.
Fitting Around Obstacles
Installing laminate flooring around common obstacles such as corners, door frames, radiator pipes, and stairs requires extra attention. In these areas, precise measurements and careful cutting of planks are essential for a professional finish.
Fitting Around Corners
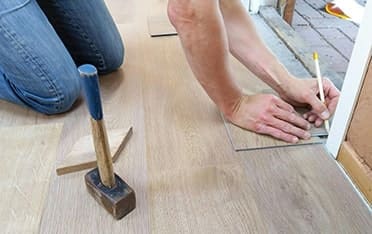
Place the laminate plank against the corner. Where the plank meets the wall, add the expansion gap and mark it with a pencil. This gives you the width of the cut needed.
To measure the length, place the plank along the adjoining wall and mark the required length. Use a set square to mark a clear cutting line. Secure the plank to a workbench using clamps and cut along the marked lines with a jigsaw. Fit the board into place and ensure a tight fit.
Fitting Around Door Frames
For fit laminate wood floor around the door frame, it’s better to undercut the door frame so the laminate slides underneath for a seamless look.
Take a piece of laminate and your underlay, then put these up against your door. Make a pencil line across the width of your door at the line your flooring and underlay reach.
Then, take a hand saw to cut into your door frame at the pencil line. Using a chisel and hammer, tap the wood below the wood line to create a gap your flooring will fit under.
Remove the excess wood, ensuring there’s enough space for the laminate and underlay to fit underneath.Test the fit by sliding a piece of laminate under the frame. If necessary, trim more for a perfect fit.
Fitting Around Radiator Pipes
Lay a laminate plank next to the radiator pipe with its short side against the wall.
Use a pencil and ruler to draw a horizontal line along the plank, aligned with the center of the pipe.
Now, move the plank so that the short side is against the pipe. Draw a vertical line along the plank, again aligned with the pipe’s center. These two intersecting lines mark the center point of the pipe. Secure the plank to a workbench with clamps. Use a drill and spade bit or hole saw to create a hole at the marked center point. The hole should be slightly larger than the pipe to allow for expansion.
Draw two straight pencil lines from the hole to the nearest short edge of the plank.
Use a jigsaw to cut along these lines and remove the small wood section.
Fit the laminate around the pipe and reattach the removed section using wood glue, flexible caulk, or a matching putty to create a seamless finish.
Fitting Around Stairs
To fit laminate around the bottom of staircases, you can use the same technique as fitting around door frames.
Trim the bottom of the staircase to allow the laminate to slide underneath. Measure and cut the plank, leaving a small expansion gap, then slide it into place and use a tapping block for a snug, professional finish.
Install the Last Row
Once you reach the final row, measure the planks to fit the remaining space and cut them lengthwise using a jigsaw or saw. Use a pull bar to gently lock the planks into place, ensuring a snug and secure fit. It may be helpful to tap gently with a hammer to ensure the planks align correctly with the previous row.
Final touch
After the planks are all laid and secured, remove the spacers and cover the gaps with skirting boards or beading, making sure the skirting is not fixed directly to the floor. This is to allow for expansion without restricting the movement of the laminate. Finally, clean the floor using a dry mop or vacuum to remove any dust or debris from the installation process.
Need expert help with your flooring project?
If you’re looking for expert help with your flooring project, look no further than Flooring Surgeons. At Flooring Surgeons, we provide top-notch floor installation services and a wide range of premium flooring solutions to suit every style and budget.
For any flooring queries, drop us an email at info@flooringsurgeons.co.uk – or visit our showrooms located in Birmingham & Wolverhampton!
Halesowen
214A Dudley Road. Halesowen, Birmingham, B63 3NJ
0121 274 8575
Monday – Friday: 9 AM – 6 PM | Weekends: 10 AM – 4 PM
Wolverhampton
317 Penn Rd, Wolverhampton, West Midlands, WV4 5QF
01902 836666
Monday – Friday: 9 AM – 6 PM | Sat: 10 AM – 4 PM | Sun: Closed
info@flooringsurgeons.co.uk
fitting@flooringsurgeons.co.uk
customerservices@flooringsurgeons.co.uk